Monday, August 30, 2010

And now to the stuffing...


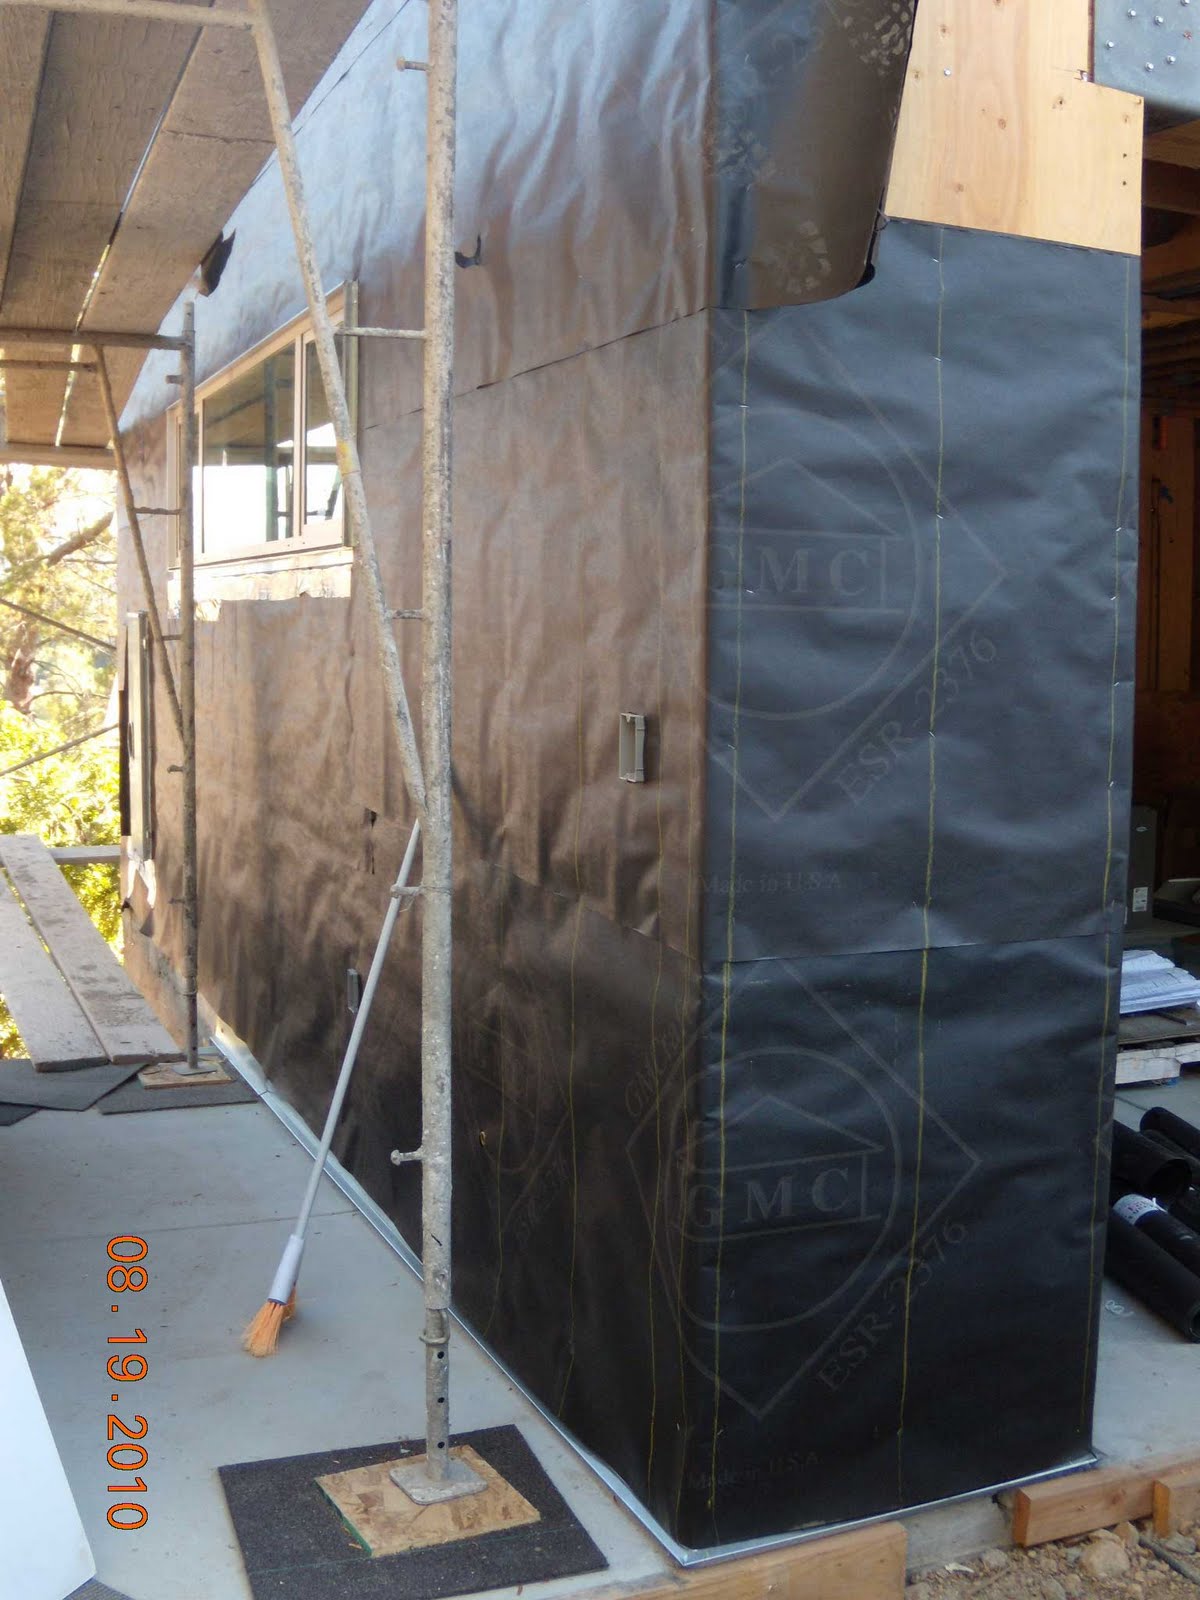
The exterior has been fully wrapped- with standard black building paper for the stucco areas and the orange vaproshield for the areas to receive the rainscreen facade. With everything now waterproofed, Abe started to insulate the exterior walls- He's using Knauff Eco Batts, a formaldehyde free fiberglass insulation product, made from recycled glass and with formaldehyde free resins. The product is as good as fiberglass insulation can get- It's not quite as good as Ultratouch, the recycled cotton insulation though, but this super-green product is also 3 times the price of fiberglass insulation and therefore way out of our reach.
Parallel to that, the stucco sub is installing channel and control screeds on the exterior and we hopefully will have the building lathed by the end of next week.

Thursday, August 19, 2010

Paper or Plastic?


We’ve moved on to the next step- to wrap the house in building paper and to install the required screeds and flashings. There are a myriad of different products on the market- each promising to be better than the other one. There’s Tyvek and Typar, which both are in an advertising war against each other (the concept is pretty interesting and we had looked into Tyvek for a bit (Tyvek has a pretty high UV resistance which allows it to be exposed to the sun for an extended period of time)- but since the code requires a 2-layer weather resistive barrier system- so we would have had to have either 2 layers of Tyvek or one layer of Tyvek and one layer of regular paper. We finally decided to go with paper and not plastic- Since the code requires that 2 layers of building paper are being used, some manufacturers offer paper with a double-thickness (theoretically the strength of 2 layers of paper, but the reason why 2 separate sheets should be used lies elsewhere- The tiny gap between the 2 layers functions as a drainage plain- a micro channel where water, which manages to get through the first layer can drain vertically down to the weep screed. Sound pretty simple- and yet, you see the double-layer strength paper being used all the time. The photo shows the South- west corner of the building being wrapped already.

Monday, August 2, 2010

Making it look like one


One of the downsides of wood frame construction without using structural steel is the reduced spanning capability of the naturally grown material- While steel can create exciting cantilevers, wood does allow for some, but needs more regular support through vertical members. This becomes in particular evident in the many corner windows that we have in our project. We decided to incoroporate those vertical members into the aesthetics of the openings- making them part of the window, rather than having them stand out as a cloumn by their own. We achieved this by cladding the posts in the same material as the windows- class 1 clear anodized aluminum. We think this looks great- but see for yourself on the photo above. It shows the corner window of the 3rd bedroom towards the street (see also on the street view rendering above).

Tuesday, July 20, 2010

How do you cover your deck?


With deck coating, of course- We have 2 outdoor areas on the 2nd floor- one above the garage for the 2nd and 3rd bedrooms (see the rendering above) and one for the Master bedroom. In order to provide a walkable surface that also serves as a waterproofing membrane AND provides a class A fire resistance rating (very important in LA's hillside areas), we had to pick a deck coating product, that would fulfill all these requirements, and still look good.
We went with Endurokote, a local manufacturer and installer of deck coating products. They have a long track record, offer a variety of finishes and do a nice job- The deck coating consists of several layers: A base coat with a metal lath, a second, elastomeric layer, a third cover coat (the current state shown on the photo), a texture coat and a finish color coat. The last 2 coats will go on, once the stucco is in place to avoid damage by the plastering crew. Over the years, the finish coat needs to be maintained, the other ones should last a long time.
PS
The bright spots on the deck are mini-puddles from condensate water that collected over the night on the roof ran down the metal panels onto the deck.

Solar water heater panels are waiting to be installed


This week, the two solar water heater panels from Heliodyne arrived. They are big but look cool and will provide us with hot water from the sun for the largest part of the year (we also have an instant backup heater for cloudy days. They will go on the roof of the main house and attach to the standing seam metal legs with S-5! clips (in order to minimize penetrations thru the roof membrane).
We changed our plans from a passive system to an active system- due to the higher efficiency and the lower cost of the latter.

Sunday, July 11, 2010

Windows


Finally, we got our windows delivered- and some of the have been installed so far (The picture shows the garage window). In terms of window manufacturers, there are a lot of different choices- some are really cheap (and you certainly get what you pay for there), others deliver quality that will last. We had the choice between Arcadia, based in the City of Industry and Torrance Aluminum, based in Perris. Both offer good quality windows and the profiles we needed for our house. In the end, we went with Arcadia, since they could offer a shorter turnaround time, have most of the facilities in-house and they're much closer to the construction site, thus we were able to have several pre-fabrication meetings at short notice and could work out tricky detail questions with their engineers rather quickly.
Customer service was very good and the windows are awesome- Energy efficient Solarban 70 glazing, nice hardware and thermally broken sturdy frames- We simply love our windows (Bill Gates can only dream of someone praising his "windows" like that)!!!
Our special Thanks go to James, Eric and Neal from Arcadia !

Tuesday, July 6, 2010

Preparations for the windows


On Wednesday, the installer will start to put in the doors and windows. What might look like a simple straightforward action is in reality a sequential process that involves a number of steps that need to take place before the windows and doors go in. Take the sliding glass doors in the living room for example:
These sliders provide access to the deck area which uses cantilever beams that backspan into the house. cantilever beams are nice to look at, since they don't come with the typical heavy looking post and girder structure in front of the house, but they go back inside the building and thus they need to be protected from decay and insects. In order to do that, we had to flash around each of the beams with a self adhering waterproof membrane (called bituthene in construction), over that membrane, we installed the joist jackets (see photo) and over that goes a sheet metal beam flashing that protects the beam-to wall connection from water damage. On top of that flashing goes the door sill pan and then finally the door.
So, we are understandably excited about out new doors and windows-and tomorrow, we will see the first ones in place!